How To Build a Summer Rail Setup

June 17, 2026

It is officially June. The ski season is over, and the snow has melted. Crap. What the heck should you do now? How about building a rail and skiing right in your backyard? If you don’t have a backyard setup then this post is for you! Read on and learn how to create your perfect backyard rail setup from LINE riders Kevin Salonius and Andy Parry.

It is officially June. The ski season is over, and the snow has melted. Crap. What the heck should you do now? If you don't have a backyard setup, this post is for you — learn how to build your own backyard rail from Andy Parry.

<
Andy Parry walks you through the full build from cut to shred.

"This is my homemade backyard rail setup recipe. I hope you like it!" – Andy Parry
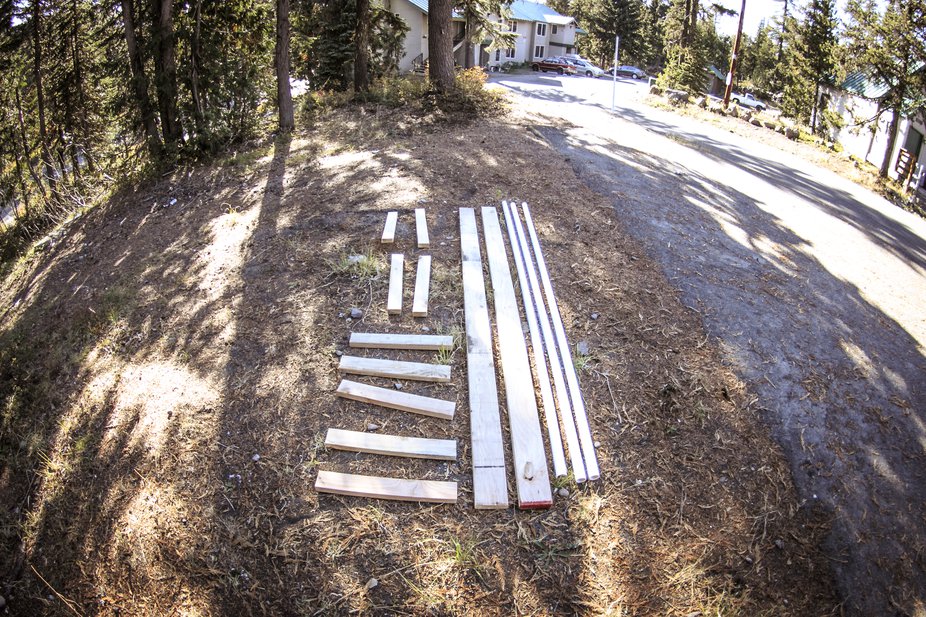
Ingredients

  • Two 2×6 by 10ft
  • Two 2×4 by 10ft
  • Three 1.5″ by 10ft PVC
  • Box of 2.5″ screws
  • A circular saw
  • A drill

Instructions

Step 1: Cut

  1. One 2×4 into five 2′ segments
  2. One 2×4 into four 2'6" segments
Andy Parry's original backyard rail build guide on Newschoolers 
Andy Parry's original backyard rail tutorial, as featured on Newschoolers.

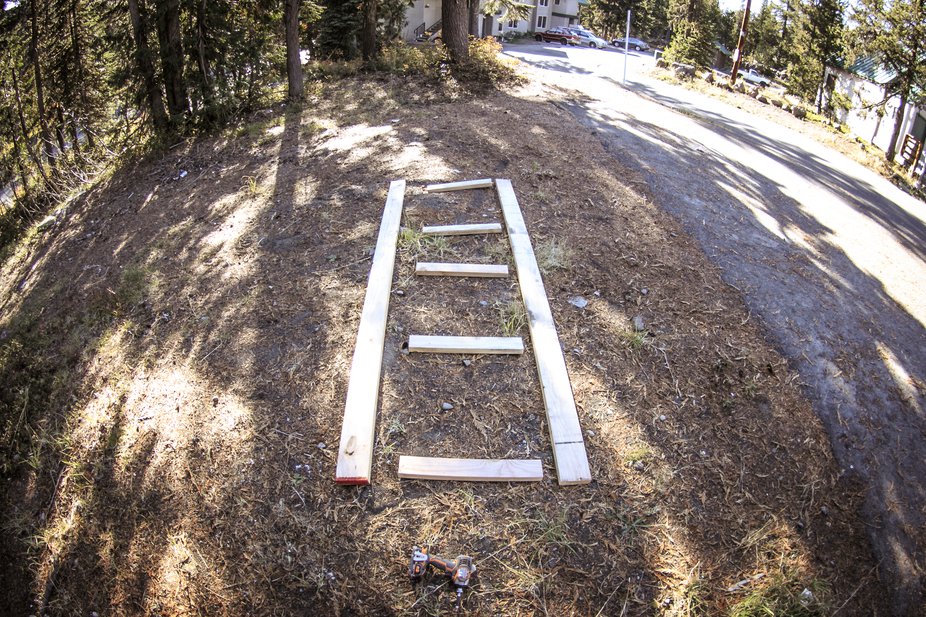
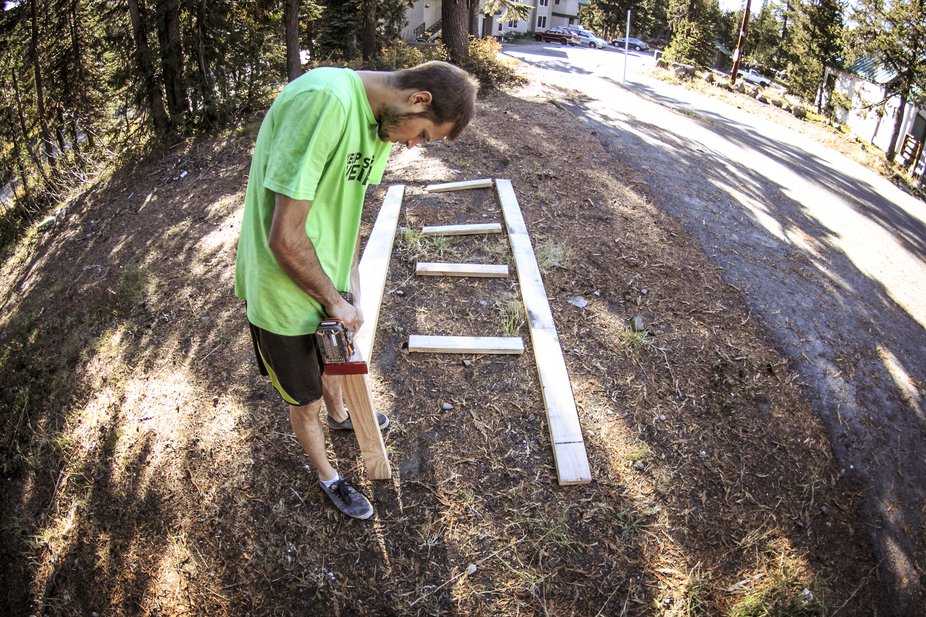
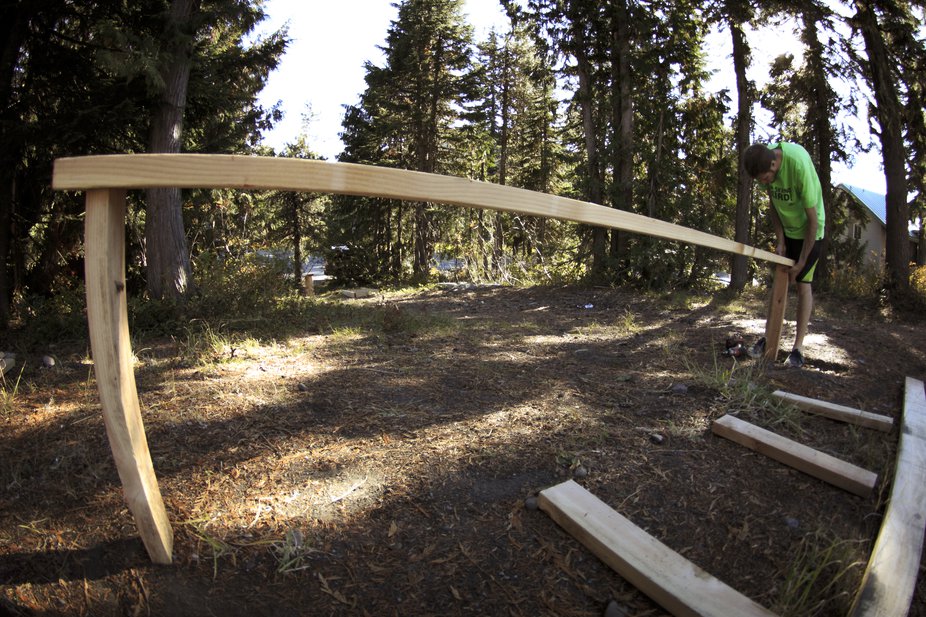
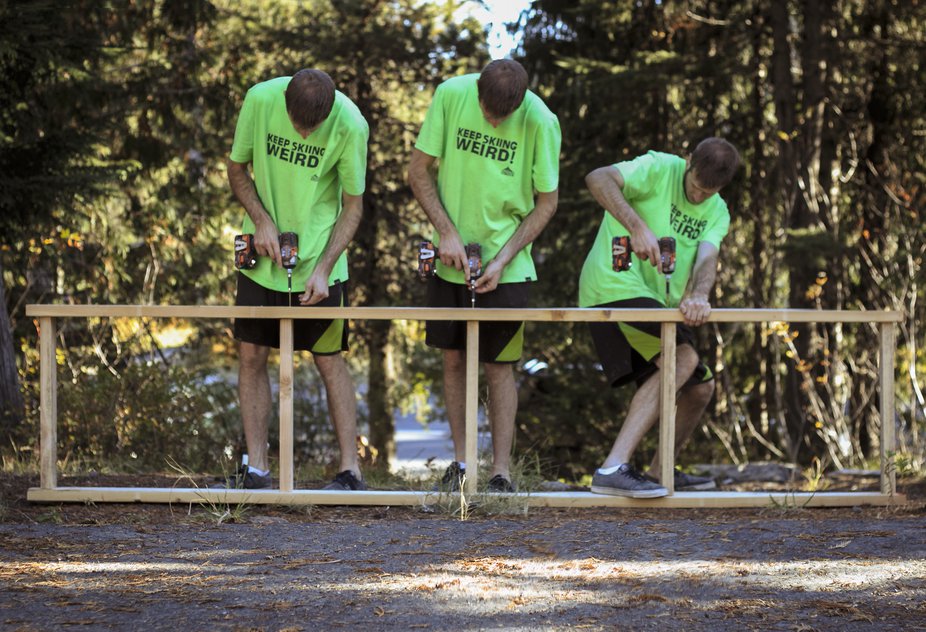
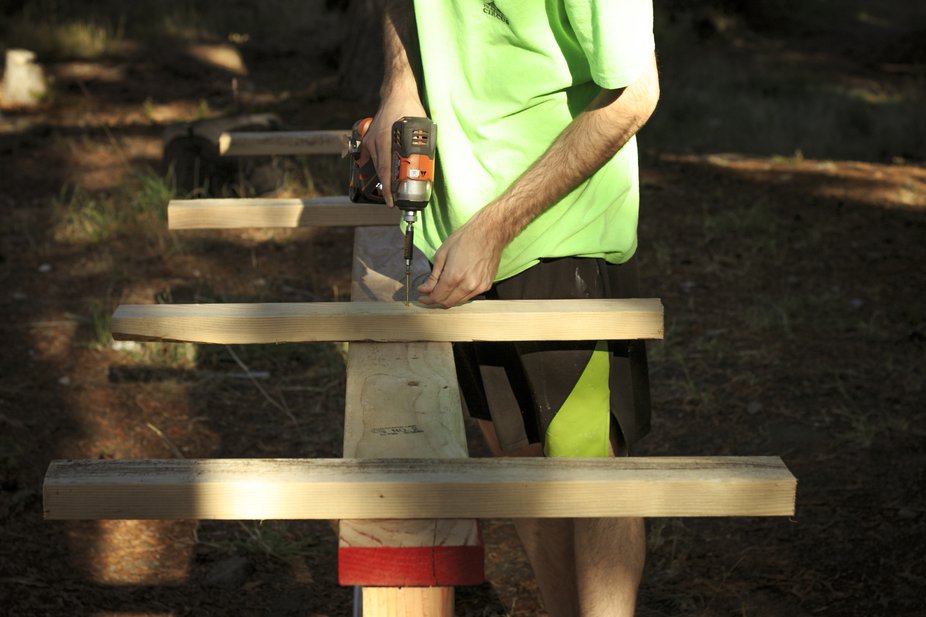
Step 2: Assemble the Frame

Layout your 2ft 2×4s with the 2×6s and screw them in. Start with a screw at both ends, then flip it over and attach the top.

Laying out the 2×4 and 2×6 boards side by side
Lay out the boards before screwing — spacing matters here.
Screwing the first end of the frame together
Start with a screw at each end to lock in your alignment.
Flipping the frame over to attach the top boards
Flip the frame and attach the top — this is what the skis will ride on.
Completed wooden frame before adding PVC
Frame complete and ready for the PVC pipe surface.

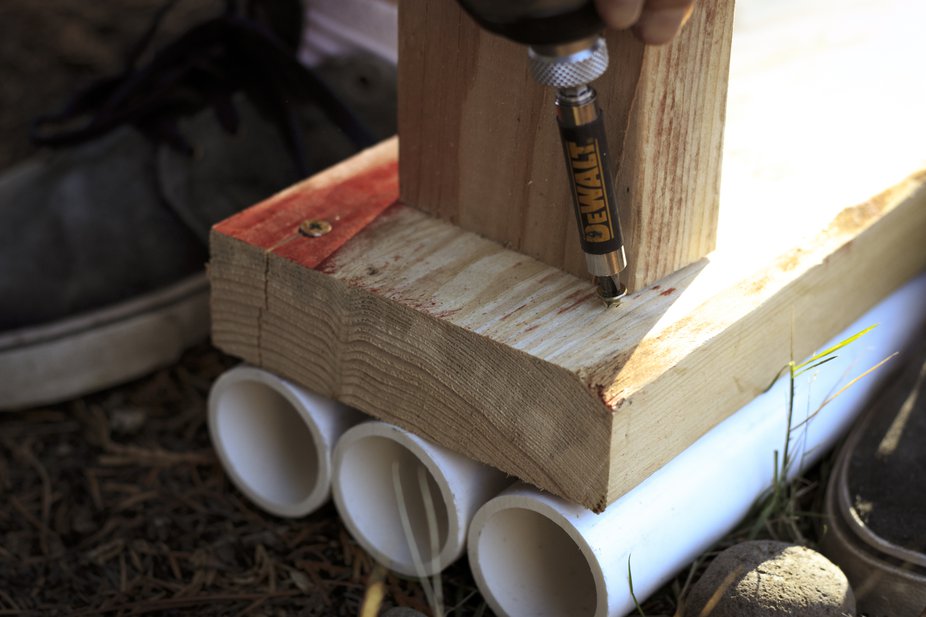
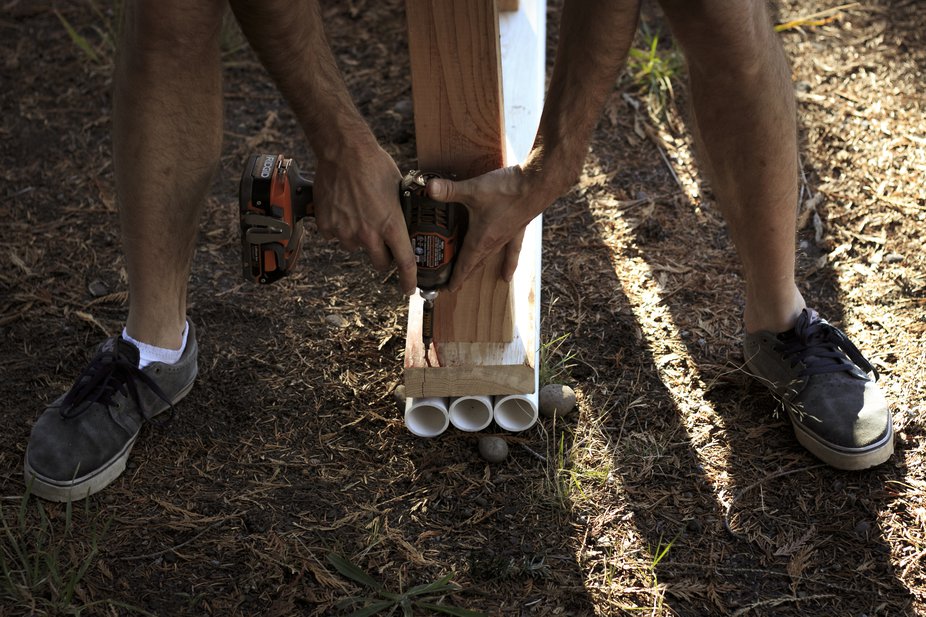
Step 3: Attach the PVC

Line up your 3 PVC pipes on the ground. Place the frame on top and make sure they are flush with the end of the 2×6. Starting at one end, screw the PVC down — adjusting as you go. Screw in 4 sets of 3 screws across the full length of the rail.

Three PVC pipes laid out parallel on the ground
Three PVC pipes laid parallel — keep them flush with the end of the 2×6.
Screwing PVC pipes into the wooden frame
4 sets of 3 screws total — work from one end to the other and adjust as you go.


Step 4: Add the Feet

Attach the remaining four 2'6″ 2×4s as feet to keep the setup upright and stable.
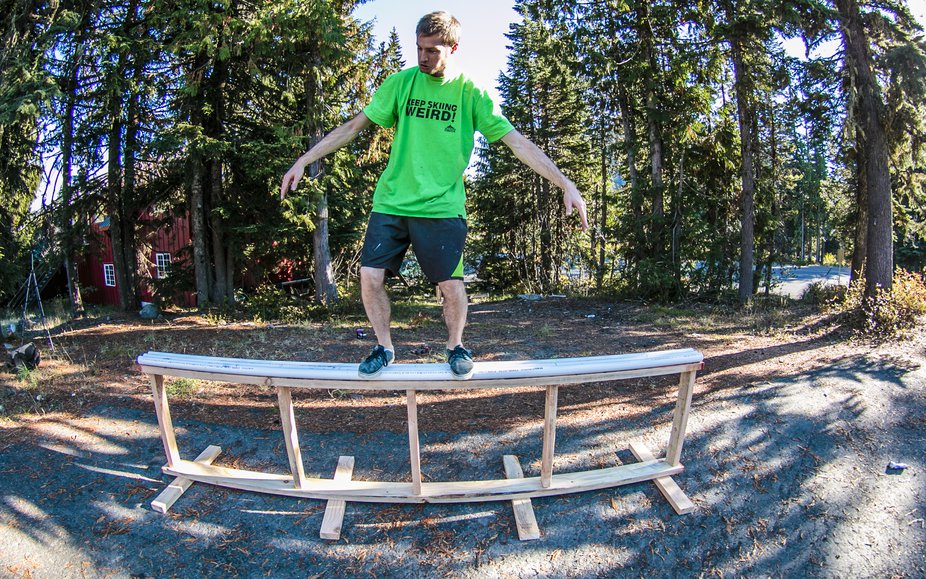
Four 2×4 feet attached to the underside of the rail frame
The feet keep the rail stable — screw them flush to the bottom of the frame.


Step 5: Finish It

You're done! Optionally, paint it, add a LINE stencil to it, add pieces of plywood to the sides to add rigidity and strengthen the overall setup.

The finished backyard PVC rail setup ready to ski
Finished rail — now go find some snow (or water).